3D-printed objects have asymmetric strength: they are much more likely to break by splitting the layers apart rather than tearing the lines within each layer. (in other words - connection between layers is somewhat weak) A small-radius hollow tube is probably one of the most unreliable structures you can print ( if printed vertically). Additionally, screws would be pulling the tube in the weakest possible direction. This isn’t a problem when there’s a metal spine inside, but without it, I believe it would break too easily.
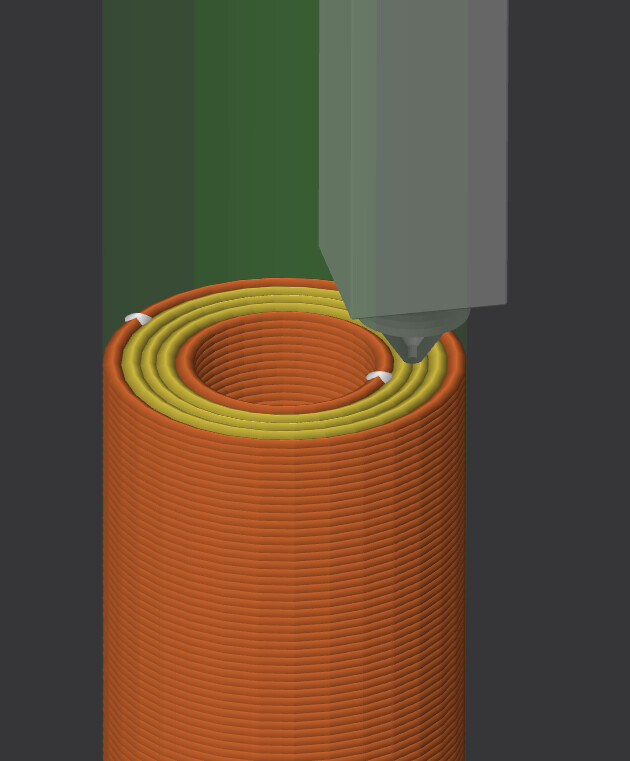
Printing this tube horizontally is likely to distort its geometry.
In my experience, if these crossbars are to be replaced with something primarily 3D-printed, they should be redesigned to be printed reliably in a horizontal orientation, so all the stress falls in the most strong direction (not pulling the layers apart). There should probably also be a pocket for a nut inside the crossbar, so the bolt’s thread pulls on the metal, not the plastic.
Once you have something working and ready to print, would you consider sharing it on Thingiverse, Printables, or a similar platform?
I’m thinking of creating an index in my first post — a list of links to printable Microrack-related models — so that people can easily find a more or less complete collection in one place.
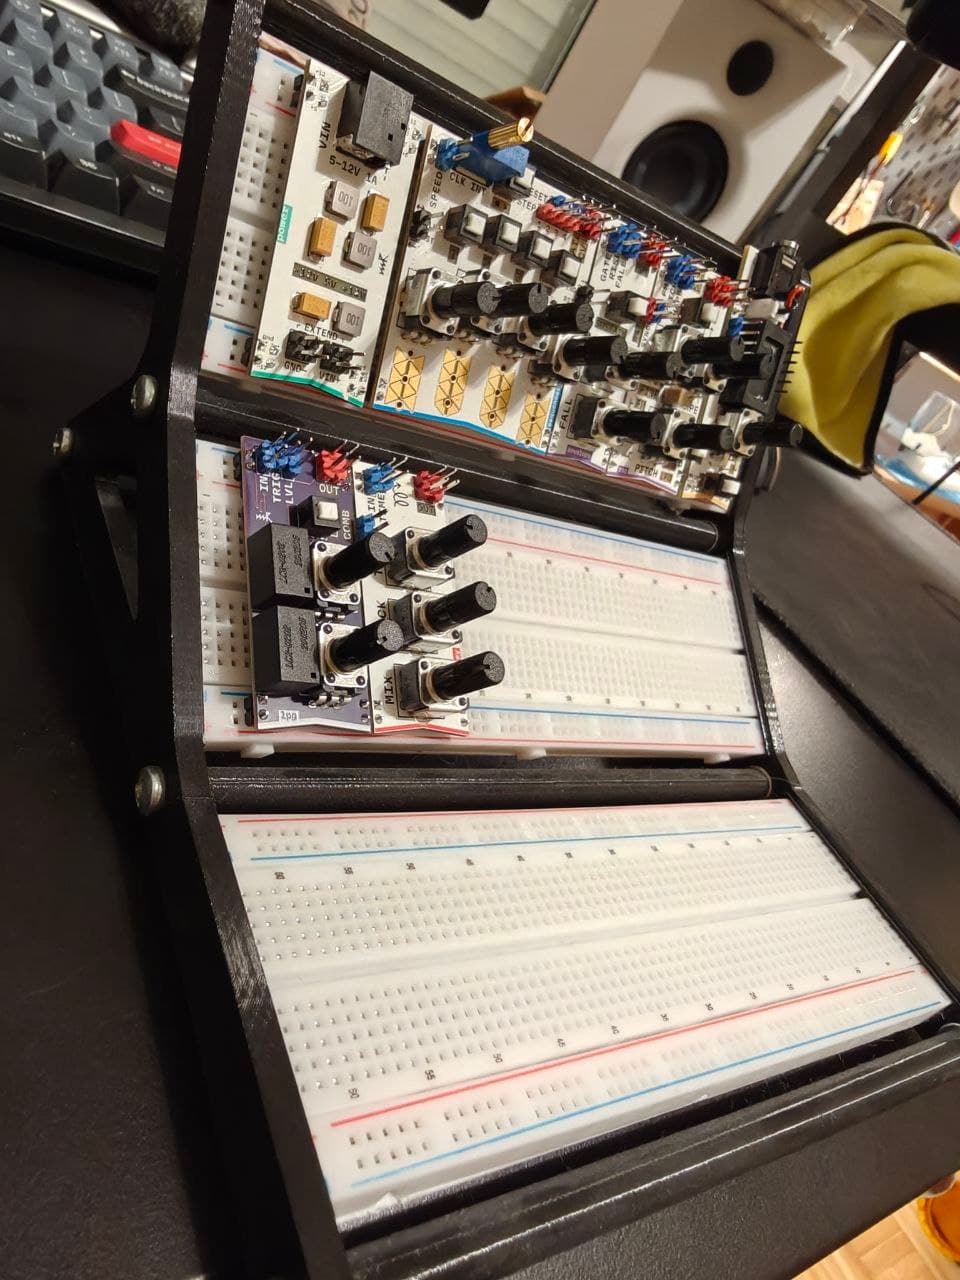
Absolutely! Next iteration should be pretty straight forward to print. Took a break to print off a Volca stand I had downloaded an STL for but never got around to printing.
I’ve made a test, and used 50mm screws instead of the rod, screwed into the same tube (without any changes of the model) for my second rack and actually it works and does not fall apart. Tubes are just bending more if i push them. 50mm screws go deep enough to have a good thread grip on the plastic.
I still prefer rods, as they are more stiff, and assembly was somewhat harder for me with screws,but so far seems like it is usable. Therefore you can start with screws and switch to rods later on occasion, if you want.